January 12, 2011

Elevation Drawings of the Bathrooms


Here are some of the elevation drawings for the bathroom cabinets. Pic above shows the one for the master bath. Unfortunately, can't proceed with the sliding mirror door as the depth of the cabinet would be too thick. I only want the depth of the cabinet to be 80mm and not over 100mm. So, both the mirrors will be fixed.

The following 2 drawings for the powder room and ensuite bathroom were not given to the carpenters and hence were not done. So, it's been recently submitted and it's now under construction. Again, the mirrors are fixed to the cabinet and not sliding as drawn. 

Lesson #1 : Make sure the carpenters received and understood all the elevation drawings. Go through with them step by step and all the details e.g. dimensions, colours and finishings.


January 09, 2011

Kitchen Installation Part 3

After the installation of the granite top, my Corian solid surface countertop was successfully installed, together with the Bareno sinks. Both sinks are undermounted. 


I actually wanted the countertop edge to be bull-nosed but the installer did not do it as it was already 4pm and the management only allows drilling work up till 3pm. Since it looks nice anyway, I think I will stick to this.

Waiting for the final installment of the kitchen! Very happy with the kitchen outcome so far.

January 08, 2011

Kitchen Installation Part 2

 
The guys from Solidtop did the installation of the granite countertop. Firstly, the measurements of the hobs were taken and drawn on the wood underlay on top of the kitchen cabinets. Then the holes were cut using a machine. Once done, the granite slabs were also cut accordingly but not completely through.

The granite slabs were then cemented or glued on top of the wood underlay.


My countertop was too long so a separate piece of granite was needed. Both the granite pieces were glued together at the joint. A skirting of about 1 inch was also glued on. The joint line is not very esthetic so it was decided that the joint be at the same margin as the roller shutter cabinet. So, just a small portion of the joint can be seen.

Then, it was time to cut the granite again.

The 2 openings for my induction and vitroceramic hobs. Aluminium foil stickers were taped onto the margins to prevent water damage.

The installers were very professional and took about an hour and a half to complete the installation. Any problems with my granite top, just give them a call.

January 07, 2011

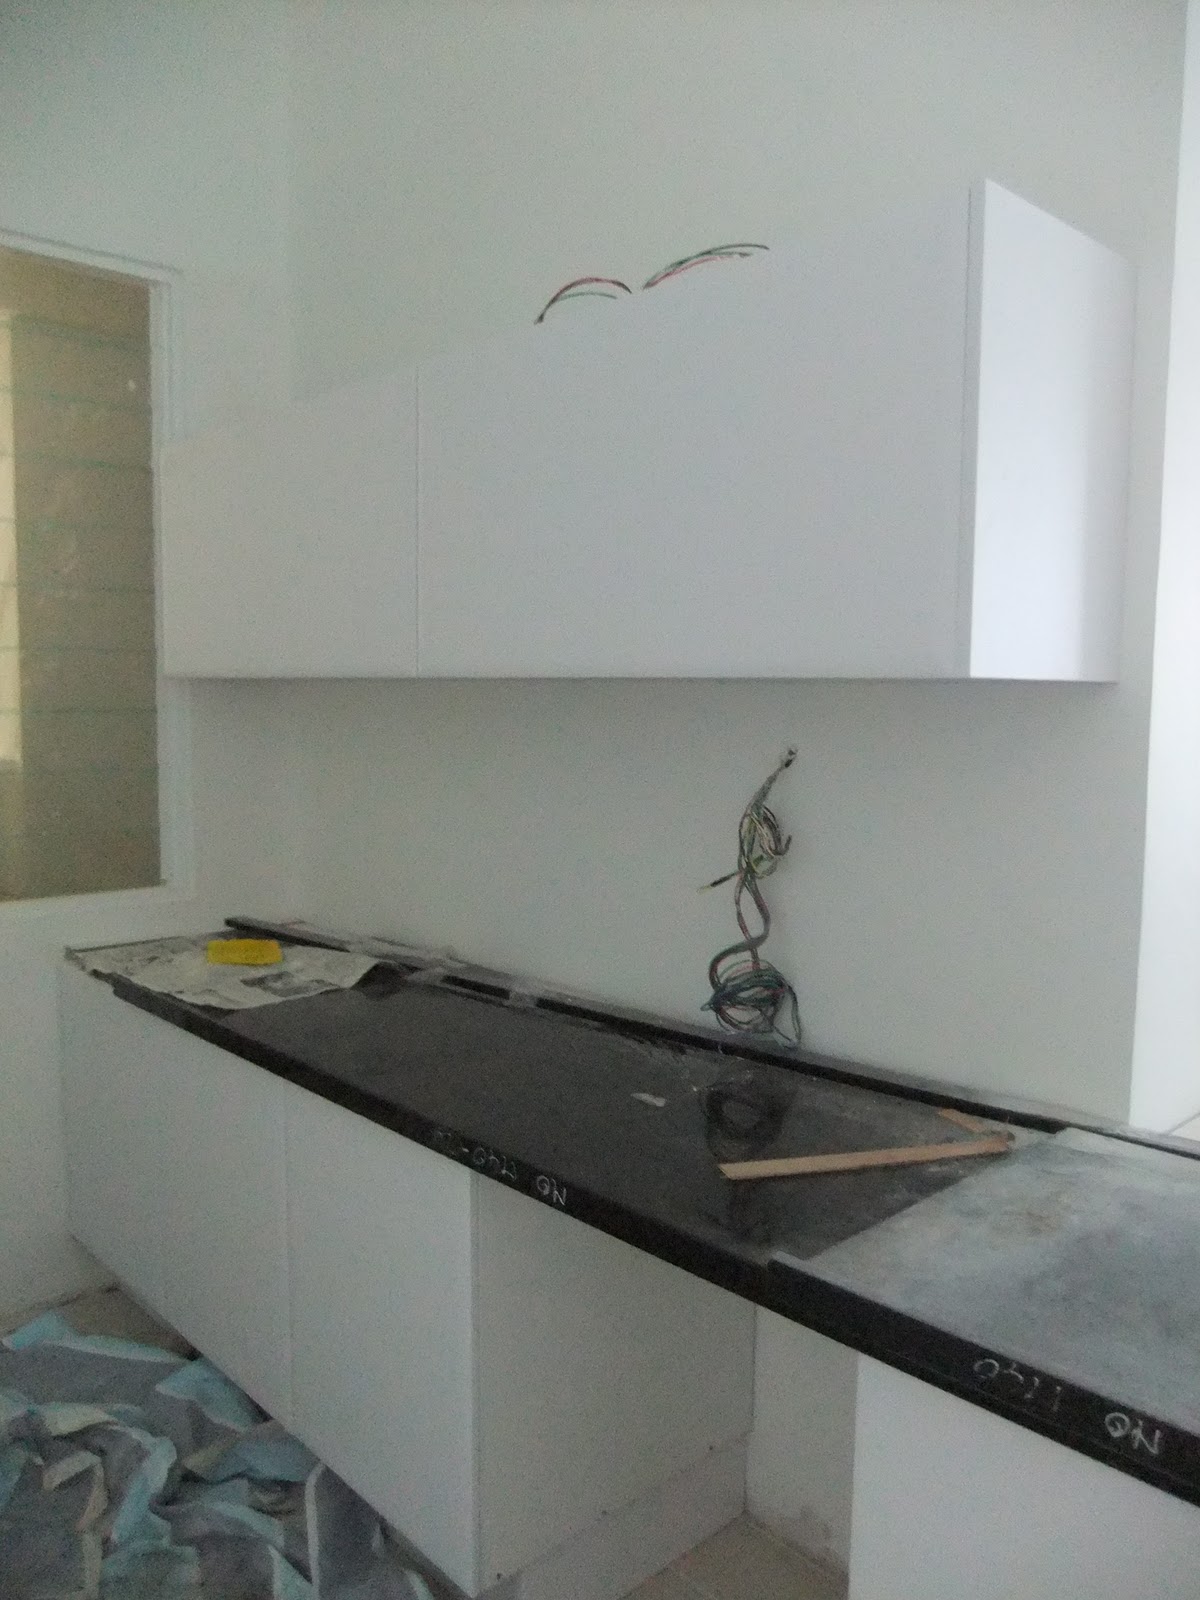
Kitchen Installation Part 1


Kuchenmatic transported the kitchen cabinets in the afternoon before starting the installation proper the following day. After a full day's work - here's what we got :


Measurements were taken for the Corian solid surface kitchen countertop which will be installed one week later. 
 

Kuchenmatic installers made another trip few days later to finish installing the kitchen doors


Photo above shows the black granite top which I will be using for the cooking area. This will be installed on a separate day by a different contractor appointed by Kuchenmatic.