Showing posts with label Kitchen. Show all posts

May 19, 2011

Glass Mosaic Tiles Backsplash


I managed to 'recruit' an Indon guy who was working on my neighbour's condo unit to come over and install some glass mosaic tiles for me. The job was completed in about 2 hours. I supplied the tiles and 1 packet of while cement, all purchased from Houz Depot. I bought 12 pieces of the tiles - some extra just in case of any breakage and also to keep as spare for replacement in future.

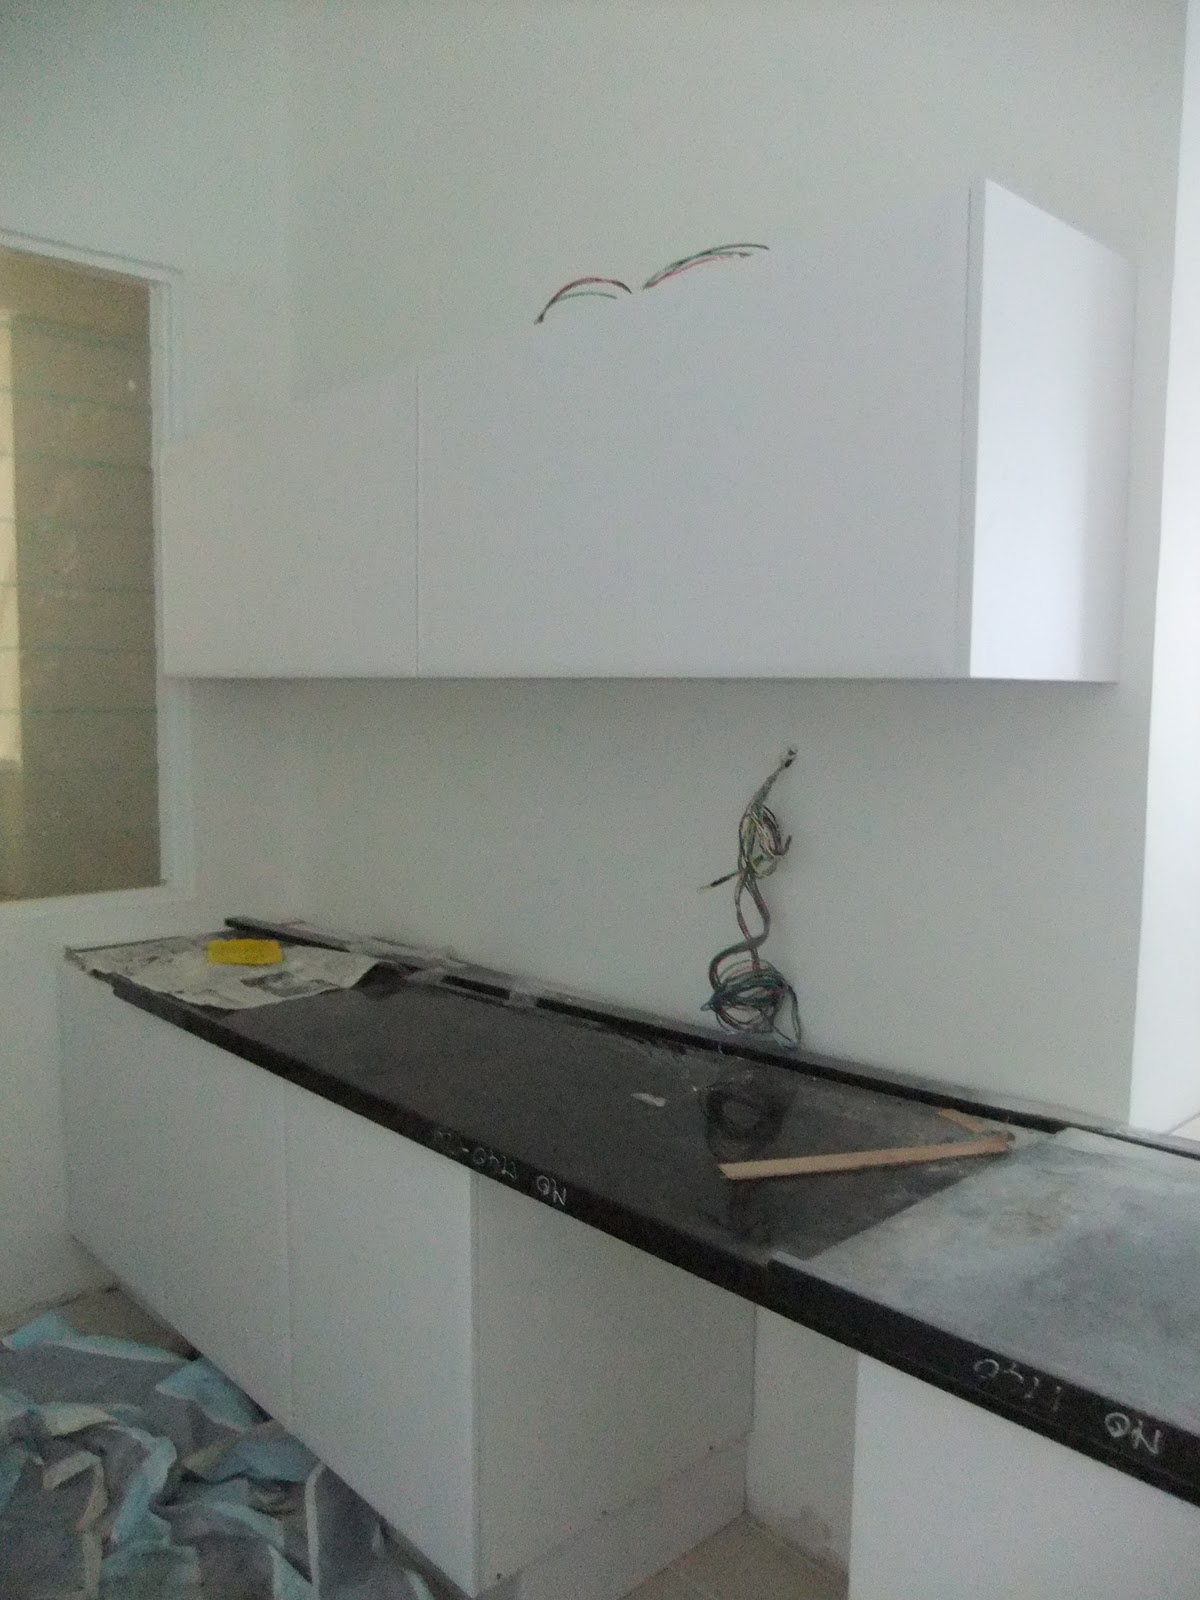
Here's how it looks like from far. My yard area has a kitchen countertop but no backsplash. Since my MIL loves cooking here, no choice but to get a backsplash. Prior to this, I used aluminium cardboard to contain the grease and all.

Firstly, the guy used a hammer to roughen up the surface of the wall, Then he measured the tiles according to the space. Then mix the cement and lay the tiles. He also used a sponge to level the cement along the grout lines. Even then there are a few air bubbles trapped there. He also removed the plug point cover to ensure a nice seam. Overall, good job done.

April 01, 2011

Kitchen Stand Mixers Machines

Since I've started baking and cooking a lot more in my new kitchen, I've decided to invest in a kitchen stand mixer. At first glance, the Kitchenaid Artisan is so retro and stylish! Plus they come a wide range of colours e.g. tangerine and boysenberry pictured below. However the price is too high for me! RM2799! And it only functions as a stand mixer.


Decided to get Kenwood instead and they have a whole range of kitchen machines to suit different needs.

Their basic & compact model for light everyday usage is the Kenwood Prospero (pictured below). Available in 3 different models : KM260, KM262 and KM264. 


The KM260 is the most basic model. It has a liquidiser attachment included. The KM262 has additional citrus juicer and food processor. The KM264 has additional mincer and centrifugal juicer. 
The retail price range is from RM1259-RM1699 at Robinson's. 

I ended up with the KM262 as Harvey Norman was having a special promo on all Kenwood kitchen machines. The KM262 is currently selling at only RM899! What a steal! I paid an extra RM89 for additional 2 years warranty on top of the 1 year warranty provided.

The specs for the KM262 :
Wattage : 700W
Weight : 5kg
Colour : White body with Silver dial.

Body material : plastic
Mixing bowl capacity : 4.3L

Tools : whisk, K-beater, dough hook
Attachments : liquidiser, food processor and citrus juicer

Comes with a free CD-ROM with 90 recipes and an introductory video.

March 17, 2011

Ori Silicone Cooking Utensils

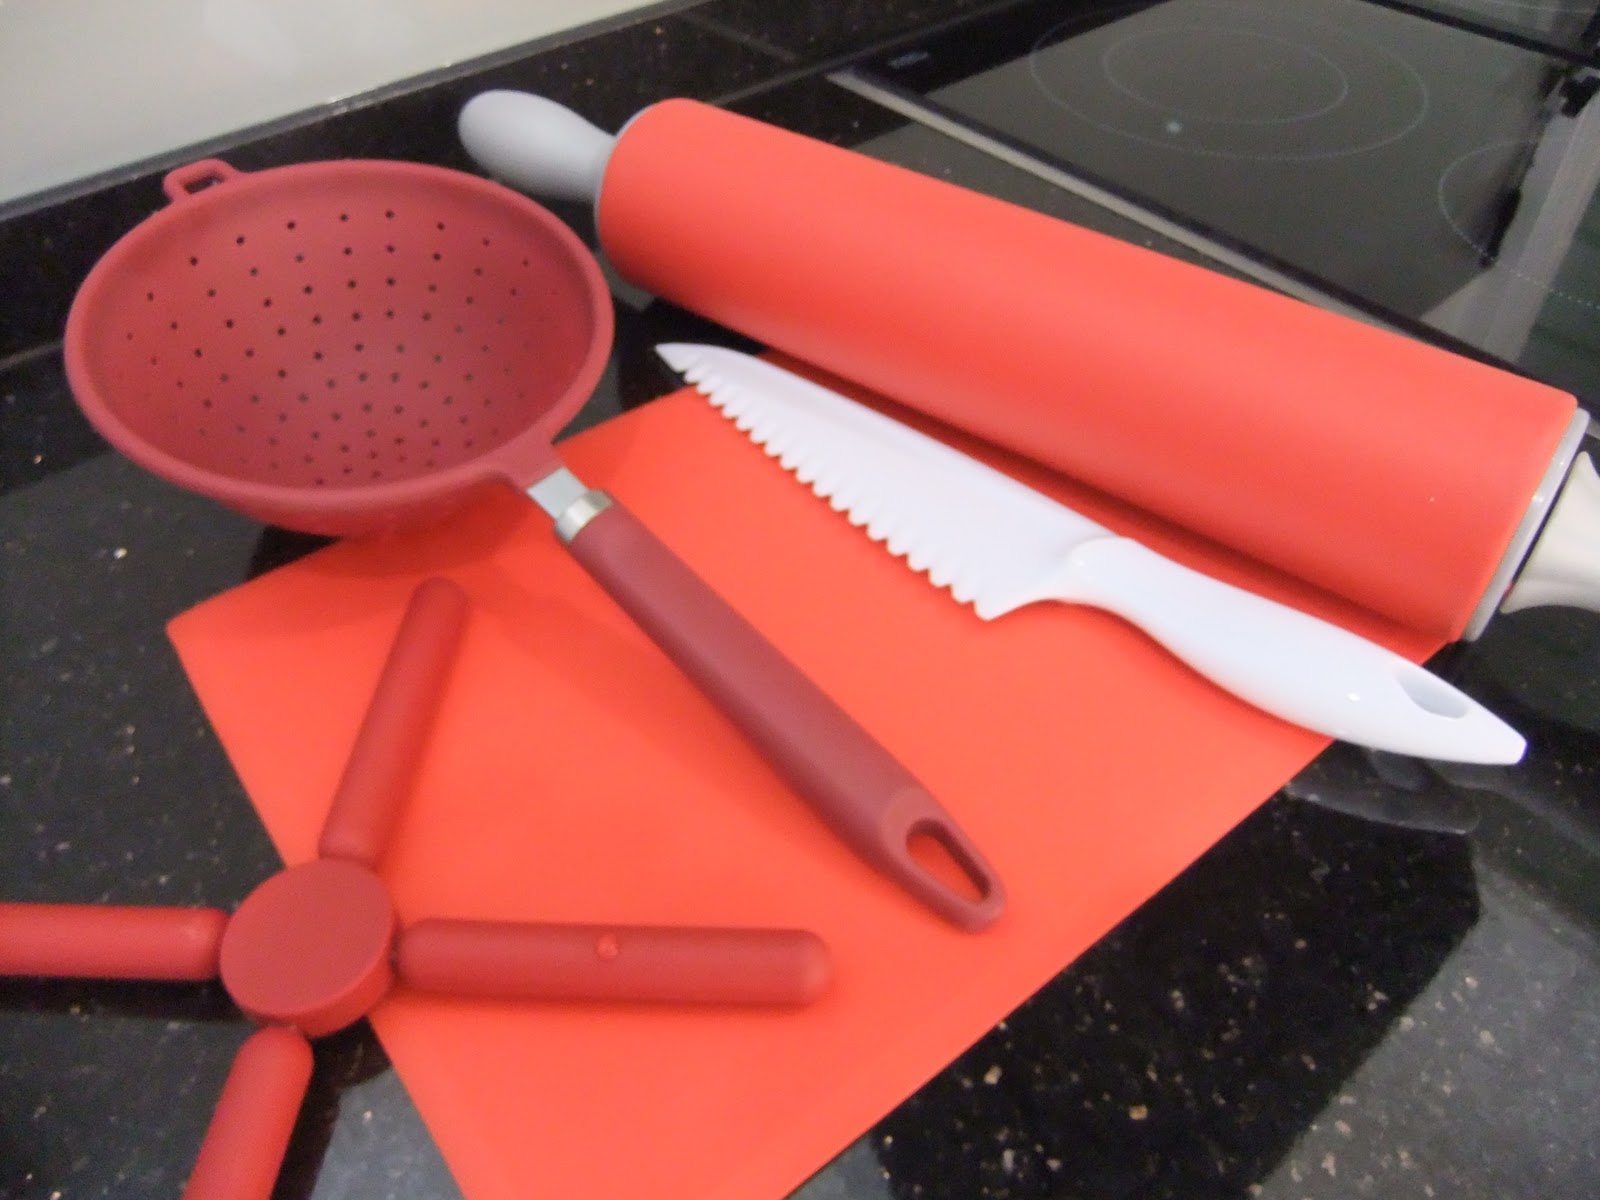
With such bright colors, the ORI range of silicone cooking and baking utensils are very eye-catching! First noticed their booth at Mid Valley Megamall. They also have one booth at Pavilion. 50% of their product range are also available at Metrojaya Living Quarters and Parkson Pavilion.

Bought a number of items from them cos I like the striking and bold colours.
Reversible baking/pastry mat RM39.90 or RM31.90 depending on size.
Rolling pin RM59.90
Fold-up coasters RM22.90
Round coasters/mats RM16.90
Colander RM43.90
Bread/Cake knife RM13.90
Fryer/Turner RM39.90

All items are made from Silicone which can withstand high temperatures in the oven/stove plus they are all dishwasher compatible.

March 16, 2011

Lebensstil Kollektion Designer Cooker Hood Review

The cooker hood in action! The model above is the LKCH 9300 by Lebensstil Kollektion.
There are three suction power levels to choose from : low, medium and high. Just press the speed button to adjust accordingly. There's also a light button to illuminate the cooking area.
I find the cooker hood is effective in sucking up the cooking fumes and grease. When deep-frying, the kitchen floor was a tad bit oily but not as bad as without using a cooker hood. Most of the oil fumes were condensed inside the hood. The grease was mainly inside and on the filters. Had to clean the hood with soapy water after frying. However it was very easy to clean as the material is glass.

2 easily removable filters located inside the hood. Just pop them into the dishwasher and they come out clean and ready to for next use.


Overall, I like the design of the hood as it allows more 'head-room' above and also the good suction power plus easy maintainance.

March 13, 2011

Bosch Dishwasher Review


Here's how the Bosch SMS50E12EU Free standing dishwasher looks like under the kitchen countertop. My kitchen designer removed the top cover of the dishwasher so that it could fit under the counter and appear integrated.


Very easy to use. Just load all the dishes into the pull-out baskets.There's also a cutlery basket not shown in the photo. I removed it to make space for the other bulkier items.

Fill the rinse-aid compartment on the left and the detergent compartment on the right. Recommended powder detergent is Finish. The dishwasher comes with 2 free tablet detergents which can be used in the detergent compartment as well. Refill the rinse-aid whenever the indicator lights blink. But for the detergent, refill for each wash cycle  and the quantity according to load.


Once everything is loaded, close the door and just turn the dial to select the preferred program function. I usually use the 'lightly-soiled' function which washes at 45 degrees celcius. It washes very well and the dishes come out squeaky clean, dry and warm. The intensive load (washes at 70 degrees celcius) works very well with dirty pots and pans. Everything came out beautifully clean! Other functions include the eco function which saves water and electricity. The auto function allows a sensor to select the best cleaning mode for the items in the dishwasher.

Half-load function is good for washing a small amount of dishes. Vario-speed cuts down the washing time into half. These optional choices on the right hand side of the control panel can be selected once the main program is selected.

Am very impressed with my dishwasher although I initially had some wiring problems with it. The model came with a 2-pin plug which needed to be changed to a 3-pin plug.  I didn't know that so I was happily using an adapter. My wireman said it was dangerous to do so as sparking occurs around the adapter. So my wireman changed the plug for me and I also checked with the technician from Bosch. However with the change of plug, my entire condo unit's power kept on tripping as soon as the dishwasher was switched on. The Bosch technician, Mr. Tan came to check and said the fusebox should be re-set to a higher level as it was too sensitive. Once the necessary change was made, the dishwasher was functional again.

February 18, 2011

Kitchen Installation Part 7

Purchased the following items from Ikea and arranged for Hello Handyman to come install them.

1) Rationell Pull-out Waste Sorting Tray RM85


2) Rationell Compost Bin RM39


3) Rationell Waste Sorting Bin RM39 each

4) Rationell Variera Waste Bin RM12.90


I also purchased a mixer from Ikea as I felt the complimentary mixer from the developer is too tall for the peninsular. This mixer costs RM49.


Here's how the Rationell waste sorting tray and bins look like install inside the cabinet beside the double bowl sink. The Rationell Variera white basket fits inside too.


This is the other Rationell bin installed on the door of the cabinet below the round sink with the Ikea mixer.

January 26, 2011

Kitchen Installation Part 6

One week after the measurements were taken, the kitchen backsplash was installed. Very professionally done by GlassKote.  The color I chose was Lightbox Grey. It's 6mm clear tempered glass with 10 year warranty. Panel above for the hob and another panel below for the sink.

Cost per square foot is RM50. Additional charges for flat edge polish at RM5 per foot run. Power point cut outs and corner cut outs are also charged. Total bill for my backsplash : RM2105. Loving the backsplash very much! Kitchen is almost complete! Oh, forgot to mentioned that the Orion mixer complimentary from the developer has been installed by the plumber..... who also installed my dishwasher and did the plumbing for the sinks.

January 21, 2011

Kitchen Installation Part 6

Plaster box up completed for the cooker hood

Definitely look much neater this way - in the yard.
Glasskote has taken the measurements for the kitchen backsplash & installation already scheduled in a few days time.

January 15, 2011

Kitchen Installation Part 5


Most of the kitchen installed  - within one day. Only 1 handle left to install on the cabinet above the fridge. I checked everything and discovered the lift up door to conceal the microwave oven wasn't very smooth. All the other soft close mechanisms were working perfectly. The soft close drawers are from Grass (USA) while the other cabinet hinges are Clip from Blum (Germany). I also noticed that the plinth for the kitchen was white and not aluminium silver as chosen. Plus, the aluminium foils for the sink area were not placed as well. Kuchenmatic was informed and they will return to rectify the mistakes the following week. Nevertheless, am loving the look of the kitchen!

January 13, 2011

Kitchen Installation Part 4

 Cooker hood installation : took 4 trips!

Trip#1 : No one around to instruct where to put the cooker hood due to a miscommunication with my kitchen designer
Trip#2 : Came late for the installation and thus was not allowed to drill or hack as it was already 3pm
Trip#3 : Finally installed the cooker hood
Trip#4 : Adjustment needed as the cooker hood was not level.

First up : the measurements

 23 inches from the granite top. Size of duct approx 6 inches. Wall hacked. Brackets placed.

 Cooker Hood hooked in place. Box up with plaster will be done soon to hide unsightly duct. Blue sticker tape still in place.

Had to pay RM100 for additional ducting as the package I bought was for 8ft of ducting only.
Round hole beside duct is for the downlight.

January 09, 2011

Kitchen Installation Part 3

After the installation of the granite top, my Corian solid surface countertop was successfully installed, together with the Bareno sinks. Both sinks are undermounted. 


I actually wanted the countertop edge to be bull-nosed but the installer did not do it as it was already 4pm and the management only allows drilling work up till 3pm. Since it looks nice anyway, I think I will stick to this.

Waiting for the final installment of the kitchen! Very happy with the kitchen outcome so far.

January 08, 2011

Kitchen Installation Part 2

 
The guys from Solidtop did the installation of the granite countertop. Firstly, the measurements of the hobs were taken and drawn on the wood underlay on top of the kitchen cabinets. Then the holes were cut using a machine. Once done, the granite slabs were also cut accordingly but not completely through.

The granite slabs were then cemented or glued on top of the wood underlay.


My countertop was too long so a separate piece of granite was needed. Both the granite pieces were glued together at the joint. A skirting of about 1 inch was also glued on. The joint line is not very esthetic so it was decided that the joint be at the same margin as the roller shutter cabinet. So, just a small portion of the joint can be seen.

Then, it was time to cut the granite again.

The 2 openings for my induction and vitroceramic hobs. Aluminium foil stickers were taped onto the margins to prevent water damage.

The installers were very professional and took about an hour and a half to complete the installation. Any problems with my granite top, just give them a call.

January 07, 2011

Kitchen Installation Part 1


Kuchenmatic transported the kitchen cabinets in the afternoon before starting the installation proper the following day. After a full day's work - here's what we got :


Measurements were taken for the Corian solid surface kitchen countertop which will be installed one week later. 
 

Kuchenmatic installers made another trip few days later to finish installing the kitchen doors


Photo above shows the black granite top which I will be using for the cooking area. This will be installed on a separate day by a different contractor appointed by Kuchenmatic.

October 29, 2010

Steam Grill Microwave Oven by Panasonic

My old combination microwave, grill and convection oven by Panasonic  malfunctioned a week ago. To cut a long story short, I needed a new oven....

Panasonic has just launched its Cooking Magic roadshow this month at various venues within the Klang Valley. I happened to be at Ikano Power Center one day and Harvey Norman was having the roadshow showcasing Panasonic products (the roadshow ends 31st October 2010). There are many more roadshows and cooking demos scheduled for the rest of the year at different locations e.g. Carrefour & Jaya Jusco.

I decided to buy this particular model at RM899.00 (RRP: RM1399.00). I added RM159.00 for extended warranty of 5 years. It's the basic model with steam, grill and microwave cooking functions. No convection cooking function in this model but it's OK cos I already bought a built-in convection and grill oven. 

Since it's a roadshow, I received an ecobag, a Thermos jug and some notepads as free gifts. I can also attend a complimentary cooking class by The Cooking House just by showing my oven's warranty card. I've since called them up to register for a class "All About Pies". The class is worth RM120 and the duration is 4 hours.


INVERTER STEAM MICROWAVE OVEN NN-GS597M
  • 1000W Microwave Power
  • 1600W Heater Power
  • 25L Oven Capacity
  • Infrared Ray Sensor
  • Stainless Steel Oven Cavity
  • 4-Way Speedy Cooking
    1) Microwave Cooking
    2) Powerful Grilling
    3) Combination Cooking of Microwave/Grill
    4) Combination Cooking of Steam/Microwave/Grill
  • Inverter Power Delivery System
  • Auto Cooking Menu: 9 Categories
  • Sensor Reheat (Infrared Ray Sensor)
  • Desired Cooking Control
  • Child Safety Lock
  • Stainless Steel Oven Cavity
  • Aluminium Face
  • Accessories: Wire Rack, Glass Tray

October 25, 2010

Granite in the Kitchen

Decided to install granite for my kitchen countertop only at the hob area. Absolute black granite at RM210 per foot run. So with that, decided to do away with the black high gloss doors. I will still have Corian solid surface for the rest of the other countertops.

Properties of granite :
1) Able to withstand heat
2) Very strong and durable
3) Highly scratch-resistant
4) Fairly stain-resistant

October 17, 2010

GlassKote for Kitchen Backsplash

I've decided to order GlassKote for my kitchen backsplah. GlassKote is from Australia and has been in the Malaysian market since 2003. Glass is durable and easy to clean. There's no grout which is great! Everything in one piece. Glass is also non-porous hence it does not stain and is also hygienic. It works great in wet areas especially in the bathroom and as a kitchen backsplash. GlassKote has over 2000 colours and finishes to choose from. 


I recently met up with one of their sales executive and was given the colour samples above. Price is RM50 per square foot for solid colours. Colours with a * costs RM53 per square foot, ** is RM55 per square foot and *** costs RM57 per square foot. Pure white colour marked with a # costs RM100 per square foot. RM75 is charged to cut the glass to fit plug points. RM5 is chargeable per foot run to bevel the edges. I kinda like the white or silver color....